Installing the Cartridge
Twist the 510 Cartridge clockwise onto Power Supply until snug. Do not over tighten.
Activating Vaporizer
Inhale on Cartridge mouthpiece to activate the Power Supply. For Standard and Compact, the light tip will illuminate to indicate activation. For Palm and Silo, the LED on the device will illuminate to indicate activation.
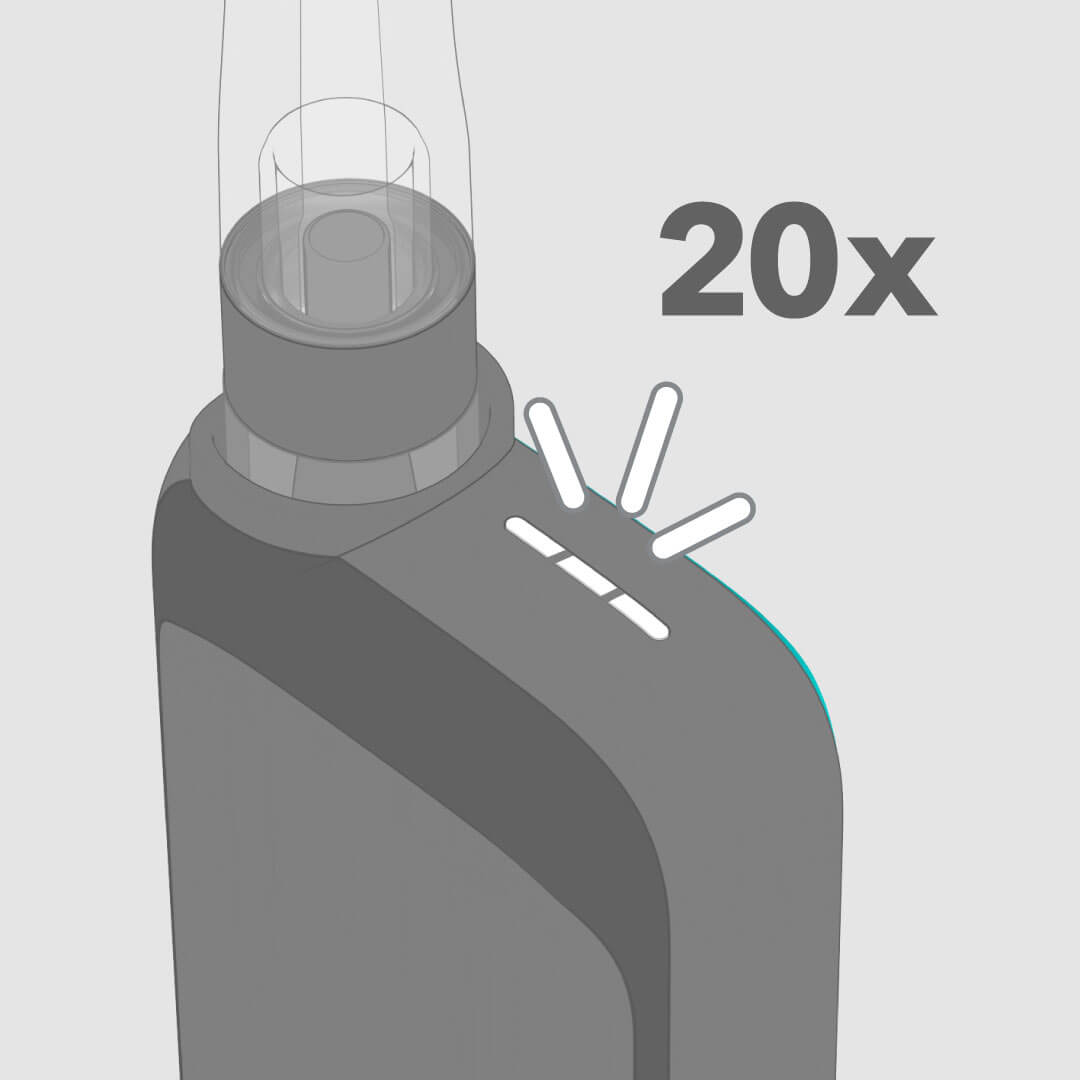
Charging Power Supply
Twist the Power Supply clockwise onto USB adapter (included) until snug, then connect the USB adapter to a power adapter or active USB port (not included). For the best performance, charge the Power Supply often after use. The light tip will blink 20 times to indicate the start of charging and will blink 3 times to indicate the end of charging. If the device is connected to an active USB port or wall adapter and the LED is not lit, it has a full charge.
Depleting Cartridge
Cartridge is empty when vapor is no longer produced after activation. Due to headspace, the cartridge may still produce vapor after the reservoir appears empty due to out of view oil absorbed in the atomizer. Learn More
Installing the Cartridge
Twist the 510 Cartridge clockwise onto Magnetic Adapter (included) until snug. Do not overtighten. Slide the Cartridge into Power Supply until the magnet snaps into place.To avoid residue buildup, remove the Cartridge from the Power Supply when not in use by twisting the Cartridge 360º before pulling it from the device. Clean the Cartridge and Power Supply contact pins after every 10-15 activations.

Activating Vaporizer
Inhale on Cartridge mouthpiece to activate the Power Supply. The LED will illuminate to indicate activation.To avoid residue buildup, remove the Cartridge from the Power Supply when not in use by twisting the Cartridge 360º before pulling it from the device. Clean the Cartridge and Power Supply contact pins after every 10-15 activations.
Charging Power Supply
Insert the included Micro USB to the bottom of the Palm Power Supply, then connect the USB to a power adapter or active USB port (not included). For the best performance, charge the Power Supply often after use.While the Power Supply is charging, the small LED at the top of the device will light up and remain lit. Once the device reaches a full charge, the LED will flash 20 times and then turn off.
If the device is plugged into an active USB port or wall adapter and the light is not lit, it has a full charge.
Depleting Cartridge
Cartridge is empty when vapor is no longer produced after activation. Due to headspace, the cartridge may still produce vapor after the reservoir appears empty because of out of view oil absorbed in the atomizer. Learn More
Cleaning Device
Remove the Cartridge from the Power Supply. Use a cotton swab dampened with diluted isopropyl rubbing alcohol to clean the exterior of the Cartridge, Power Supply, and contact points.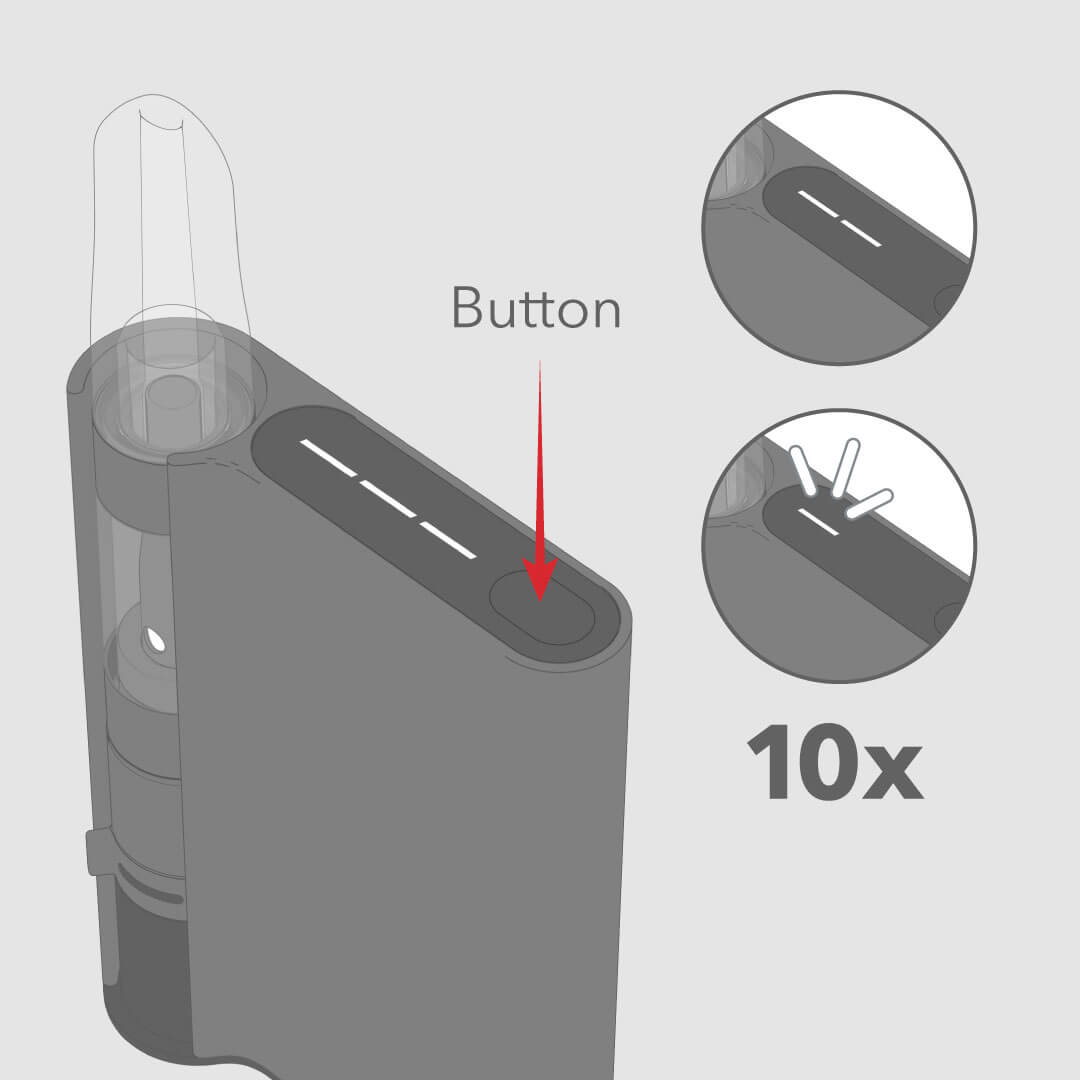
Running out of Battery
Press the button once and the 3-bar LED status light will indicate the battery level. When the battery is low, the LED Indicator will flash 10x indicating the need to charge the device. When the device is in need of recharging, the light will no longer illuminate.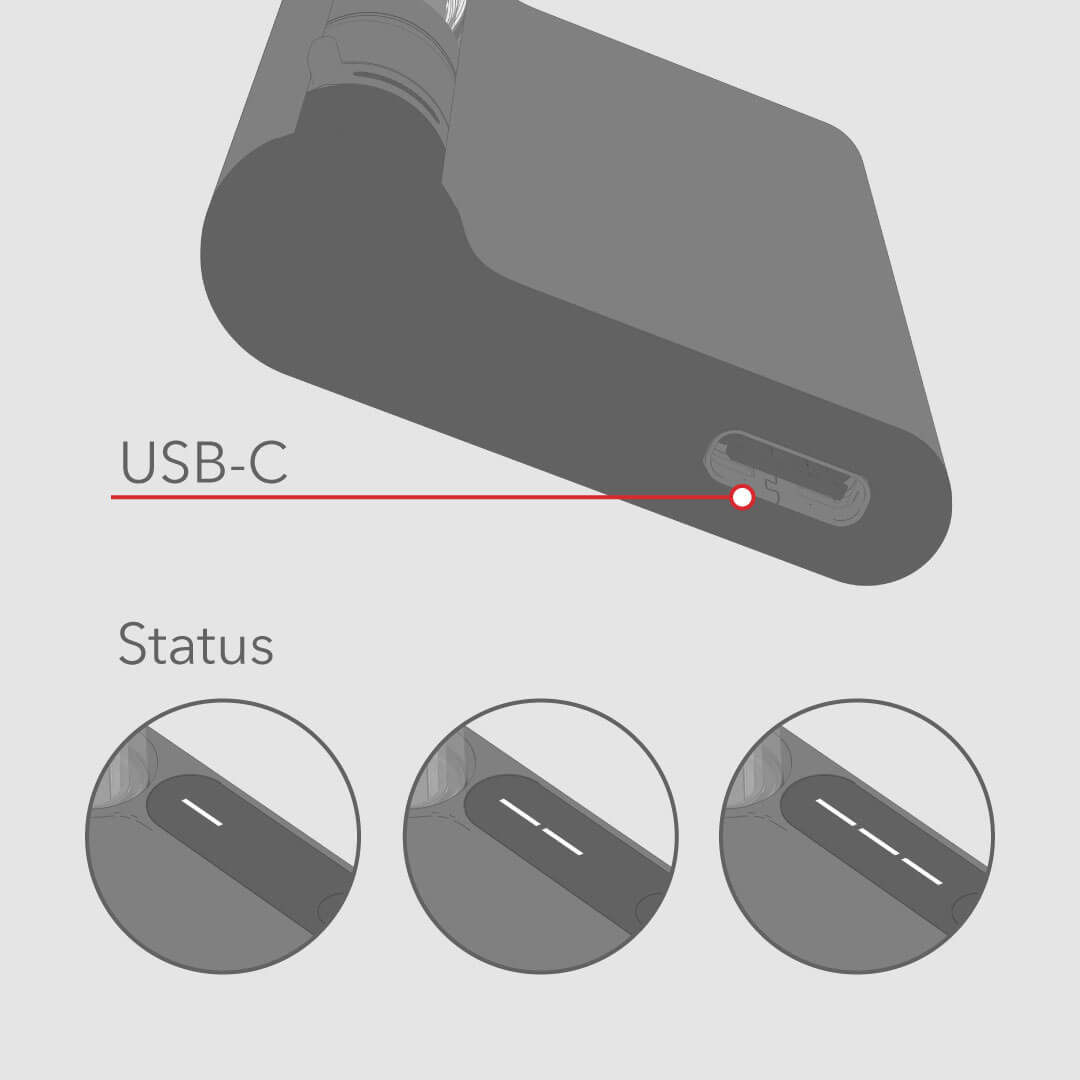
Charging the Power Supply
Plug the USB-C Charger (included) into the charging part on the bottom of the device under the rubber cap. Plug into an outlet with a power adapter (not included) or an active USB port.When the device is charging, the 3-bar LED status light will blink and indicate battery level.
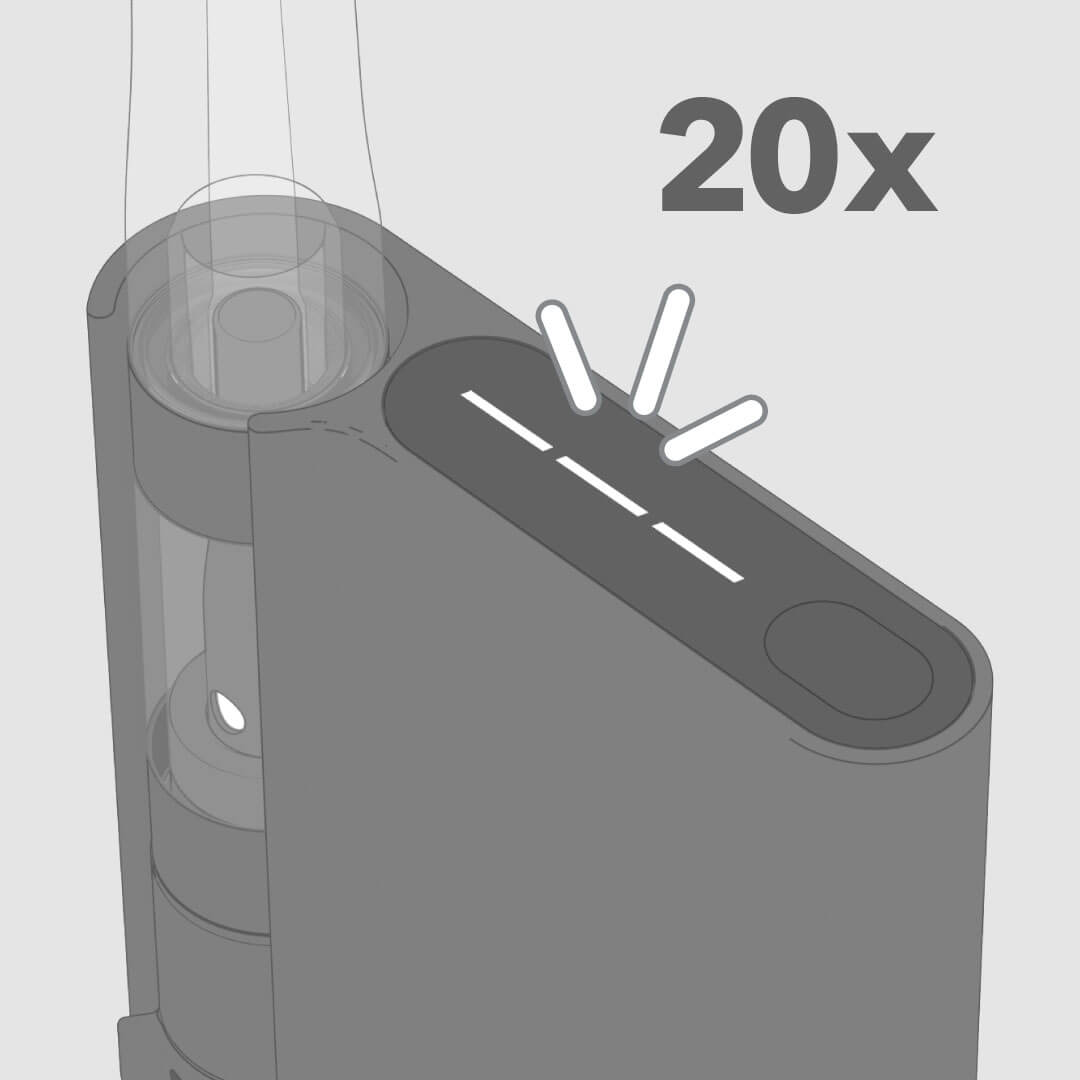
Full Charge Indication
When the device reaches a full charge, the light will flash 20x and then turn off. If the device is plugged in to an active USB port and the light tip is not lit, it has a full charge.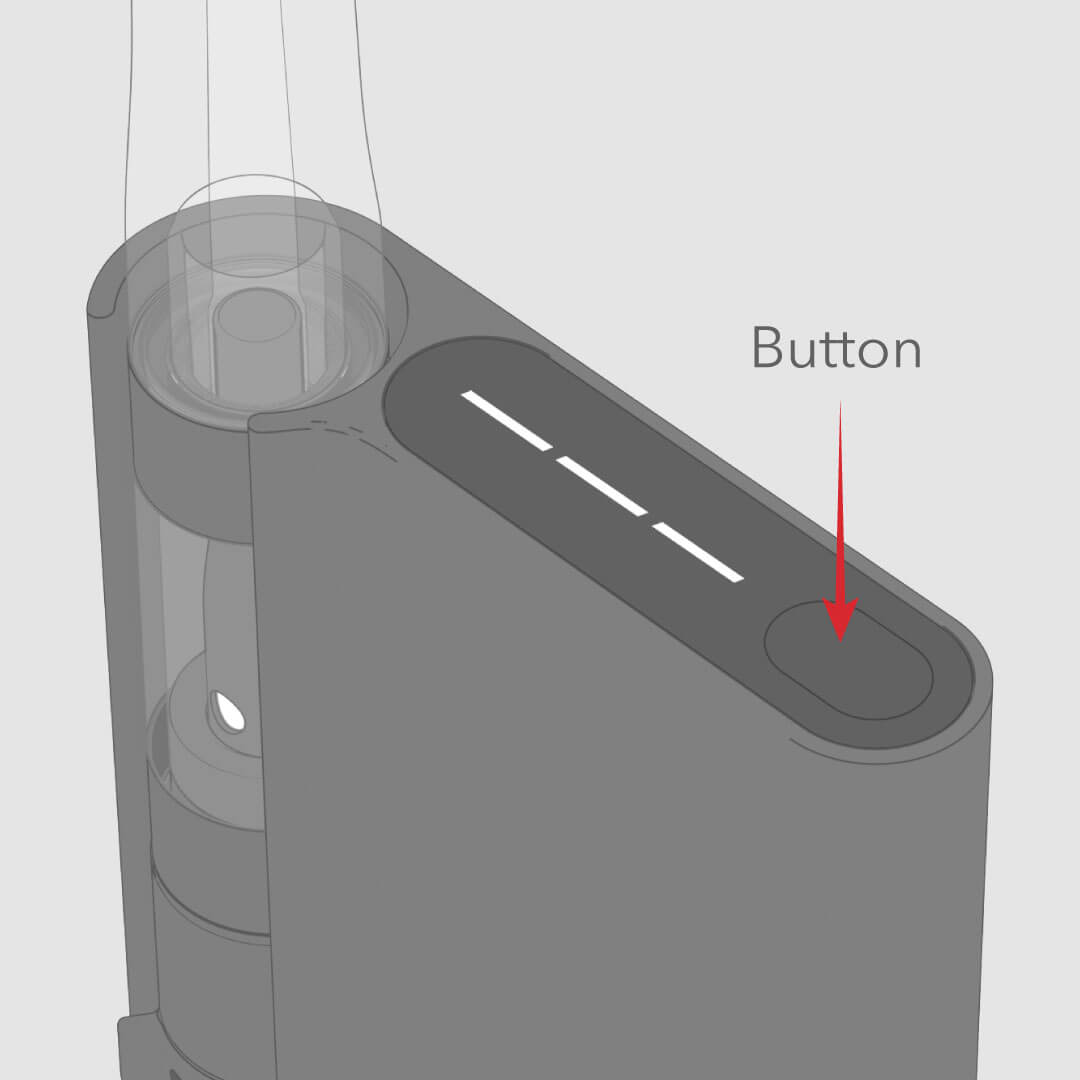
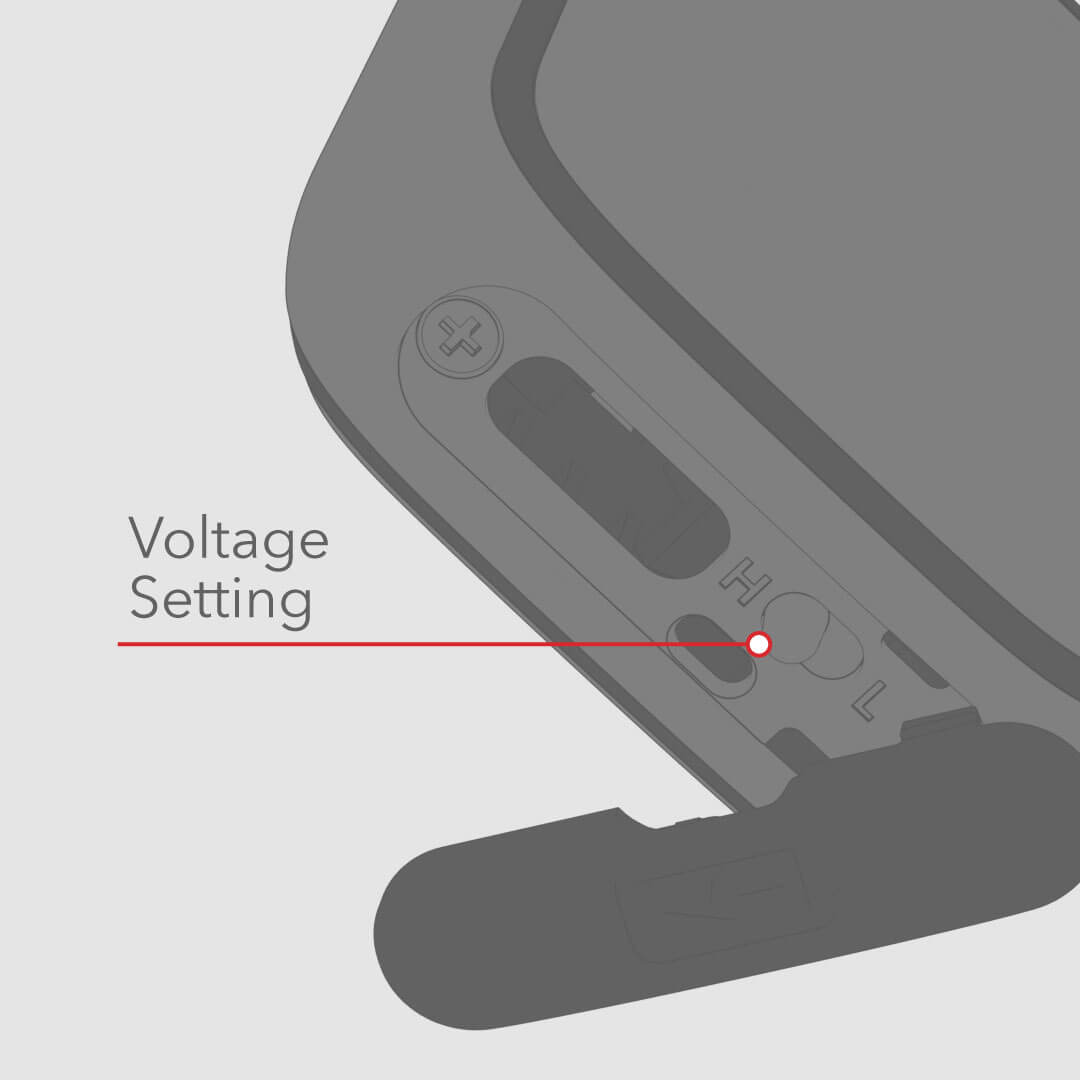
Changing the Voltage Settings
Press and hold the button to change voltage switch. The 3-bar LED status light will blink to reflect the new power setting. 3 bars is 3.6V, 2 bars is 3.2V, and 1 bar is 2.8V.
Pre-heating the Cartridge
Double press the button to pre-heat the cartridge for 10 seconds.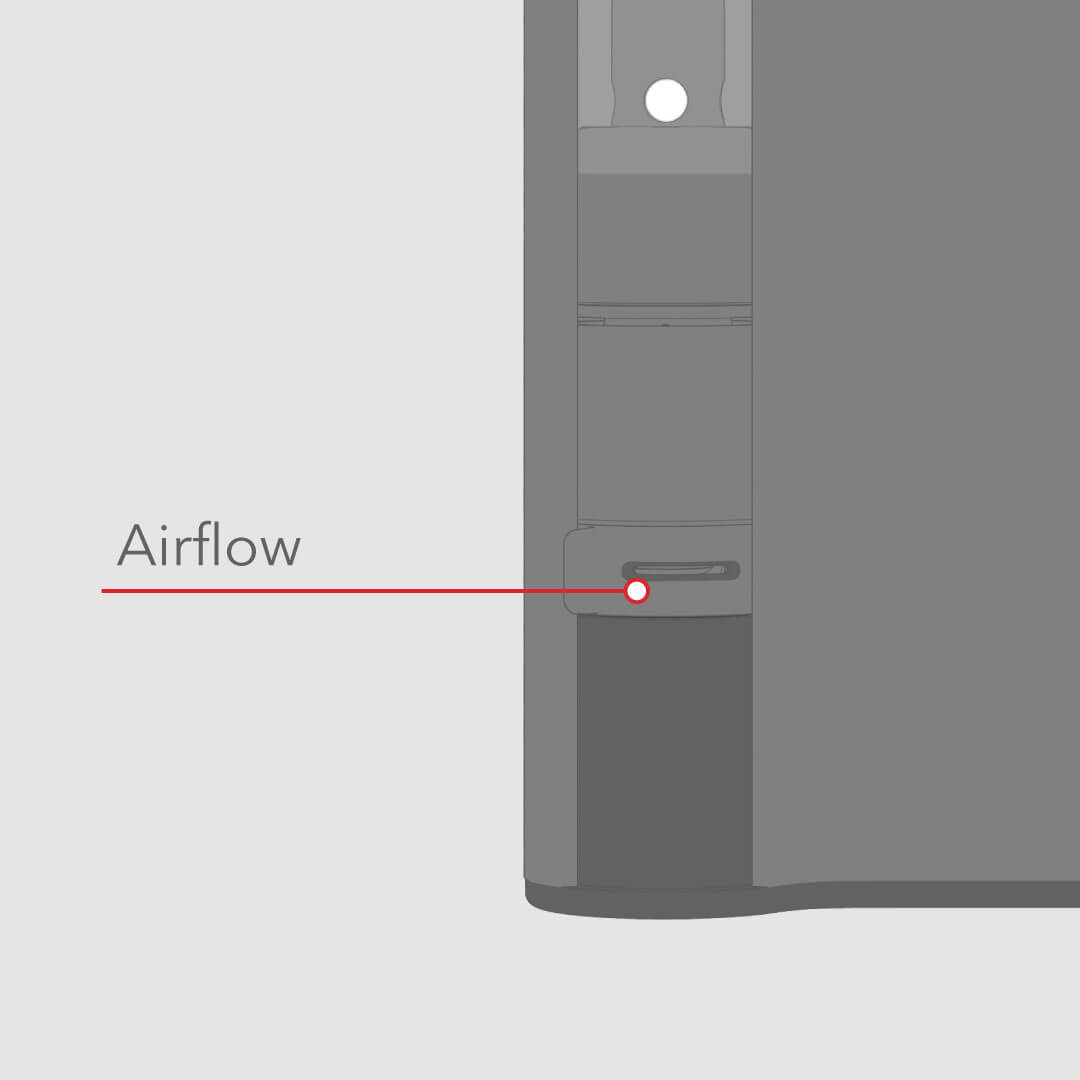
Adjust the Airflow
Slide airflow collar from fully open to partially open to fully closed to adjust airflow.
Installing the Cartridge
Twist the 510 Cartridge clockwise onto Magnetic Adapter (included) until snug. Do not overtighten. Slide the Cartridge into Power Supply until the magnet snaps into place.To avoid residue buildup, remove the Cartridge from the Power Supply when not in use by twisting the Cartridge 360º before pulling it from the device. Clean the Cartridge and Power Supply contact pins after every 10-15 activations.

Activating Vaporizer
Inhale on Cartridge mouthpiece to activate the Power Supply. The LED will illuminate to indicate activation. To avoid residue buildup, remove the Cartridge from the Power Supply when not in use by twisting the Cartridge 360º before pulling it from the device. Clean the Cartridge and Power Supply contact pins after every 10-15 activations.
Charging Power Supply
Insert the included Micro USB to the bottom of the Palm Power Supply, then connect the USB to a power adapter or active USB port (not included). For the best performance, charge the Power Supply often after use. While the Power Supply is charging, the small LED at the top of the device will light up and remain lit. Once the device reaches a full charge, the LED will flash 20 times and then turn off. If the device is plugged into an active USB port or wall adapter and the light is not lit, it has a full charge.
Depleting Cartridge
Cartridge is empty when vapor is no longer produced after activation. Due to headspace, the cartridge may still produce vapor after the reservoir appears empty because of out of view oil absorbed in the atomizer. Learn More
Cleaning Device
Remove the Cartridge from the Power Supply. Use a cotton swab dampened with diluted isopropyl rubbing alcohol to clean the exterior of the Cartridge, Power Supply, and contact points.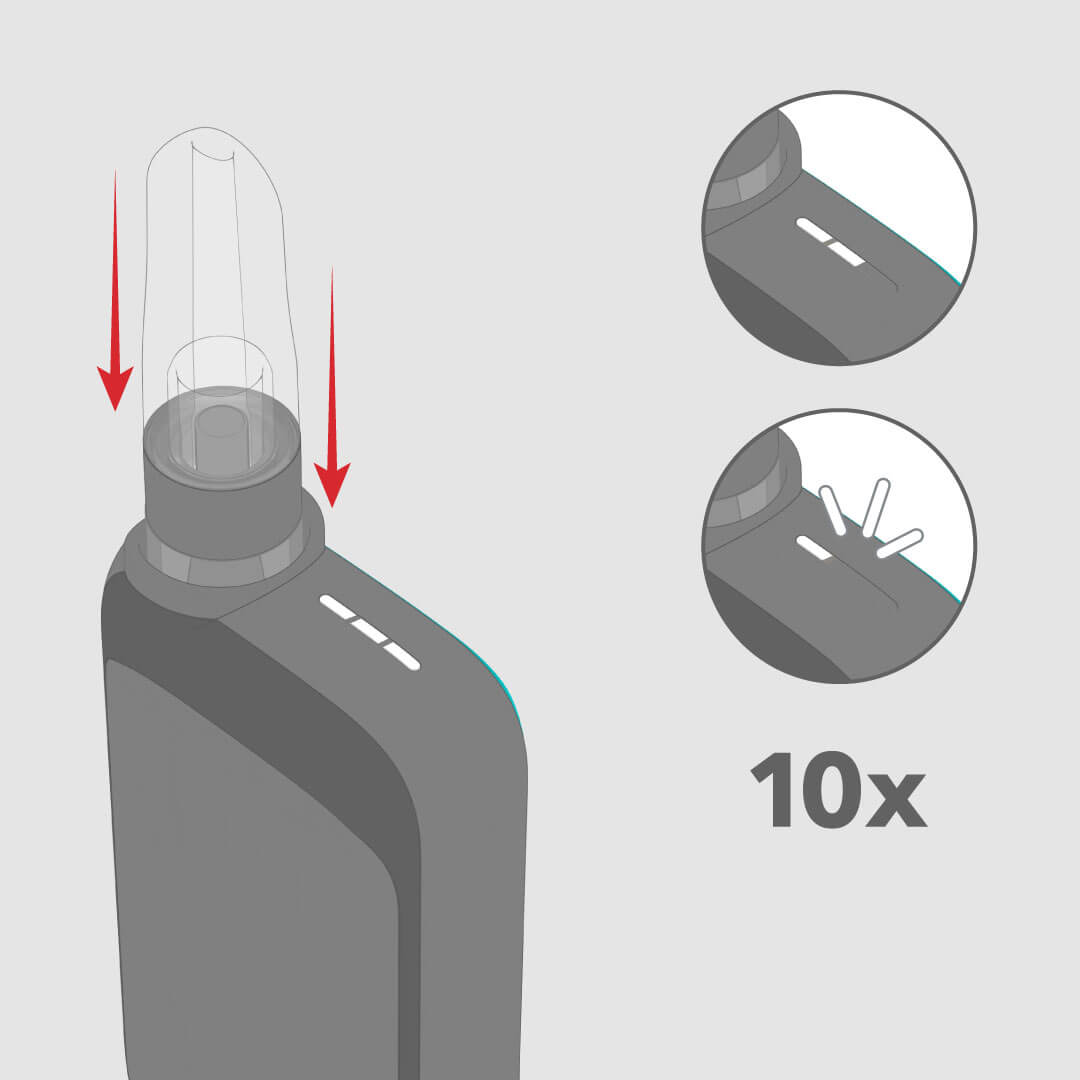
Running out of Battery
When dropping in a cartridge the 3-bar LED status light will indicate battery level.When the battery is low, the LED Indicator will flash 10x indicating the need to charge the device.
When the device is in need of recharging, the light will no longer illuminate.
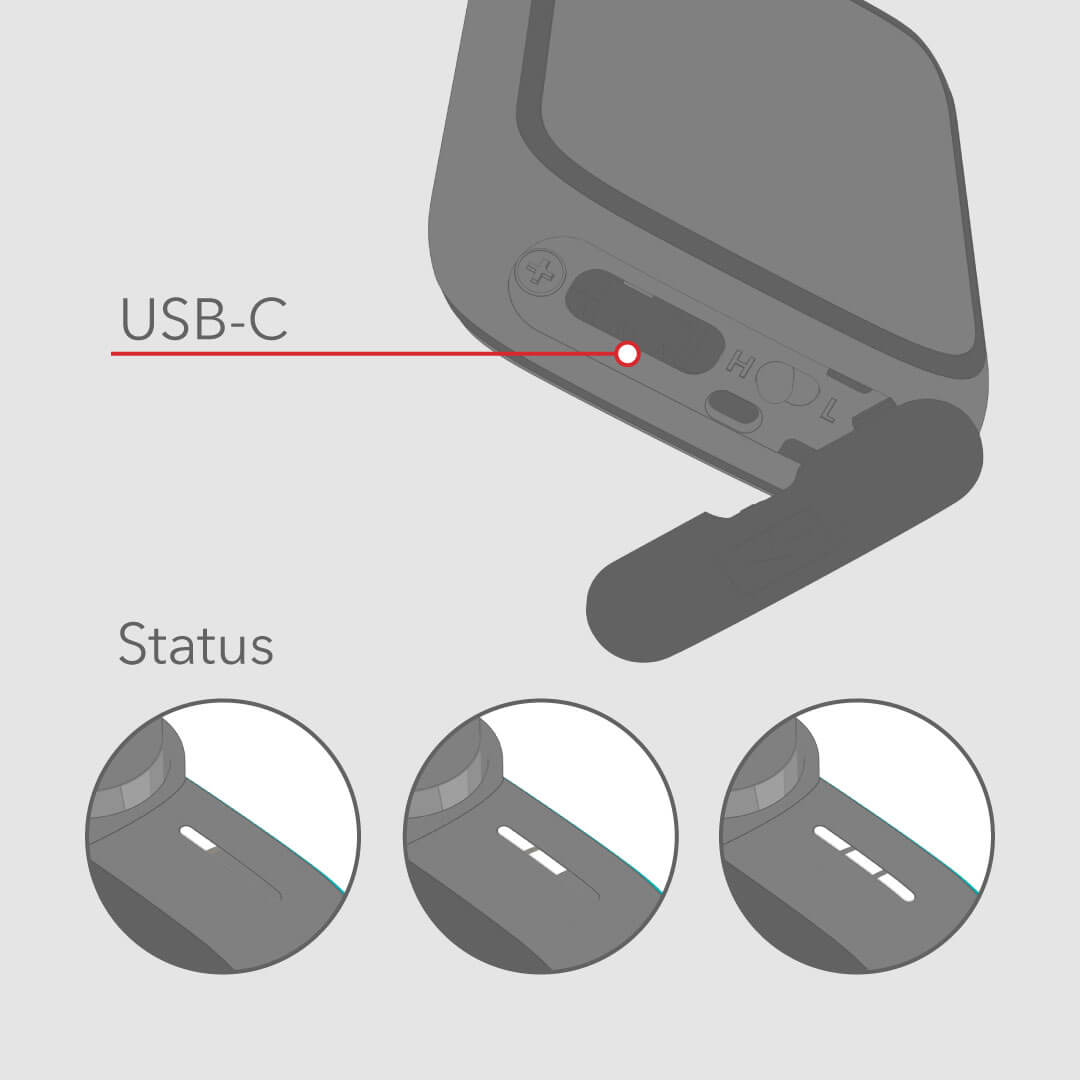
Charging the Power Supply
Plug the USB-C Charger (included) into the charging part on the bottom of the device under the rubber cap. Plug into an outlet with a power adapter (not included) or an active USB port.When the device is charging, the 3-bar LED status light will blink and indicate battery level.
Full Charge Indication
When the device reaches a full charge, the light will flash 20x and then turn off. If the device is plugged in to an active USB port and the light tip is not lit, it has a full charge.