Skip to content
Jupiter x Curaleaf: See our
Custom Medical Device Solution
+1 (480) 867-6100
info@jupiterresearch.com
Search
Products
By Family
All-In-Ones
Cartridges
Dispensers
Pods
Power Supplies
By Oil Type
All Oils
Distillates
Live Resin
Live Rosin
Liquid Diamonds
By Collection
Award Winners
Heavy Hitters
Starters
Sustainable
Travelers
View All Products
Capabilities
Customization
Light Touch Customization
In-depth Customization
Packaging Solutions
Engineering
Research & Development
Quality & Safety
Compliance
Technology
Heating Tech
3.0 Bio-Heating
EVOMAX
EVO
SE
HeRo
Automation
Snap-Fit Capping
CCELL® Arbor Press
CCELL® Capping Machine
Voltage Tuner
About
Request Samples
Products
By Device Family
All-In-Ones
Cartridges
Dispensers
Pods
Power Supplies
By Formulation
Live Rosin
Live Resin
Liquid Diamonds
Distillates
By Collection
Travelers
Sustainable
Starters
Heavy Hitters
Award Winners
Capabilities
Customization
Light Touch Customization
In-depth Customization
Packaging Solutions
Engineering
Research & Development
Quality & Safety
Compliance
Technology
Heating Tech
3.0 Bio-Heating
EVOMAX
EVO
SE
HeRo
Automation
Snap-fit Capping
CCELL® Arbor Press
CCELL® Capping Machine
Voltage Tuner
About
Contact
Hardware for any formulation.
Vaporization technology shouldn’t be complicated. With Jupiter Research, you can rest assured that our devices have passed stringent testing, so you can focus on creating extracts that elevate the industry.
Request Samples
Refine Products
Clear Filters
By Family
All-In-Ones
Cartridges
Dispensers
Pod Systems
Power Supplies
By Oil Type
All Oils
Distillates
Live Resin
Liquid Diamonds
Live Rosin
By Size
0.3mL
0.5mL
1.0mL
1.2mL
1.5mL
2.0mL
2.5mL
3.0mL
6.0mL
By Tech
Ceramic Core
EVO
EVOMAX
HeRo
SE
By Feature
Aroma Switch
Child Resistant
Dual Tank
Eco-friendly
Preheat
USB-C
Variable Voltage
By Collection
Award Winners
Heavy Hitters
Starters
Sustainable
Traveler
By Brand
CCELL®
Jupiter
By Price
$
$$
$$$
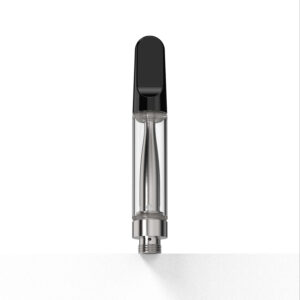
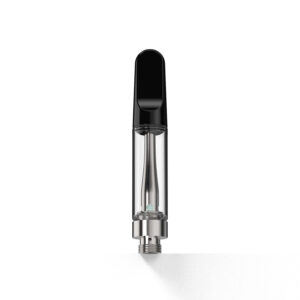
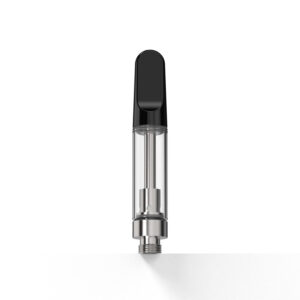
RA100 (Glass)
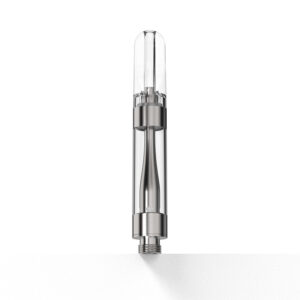
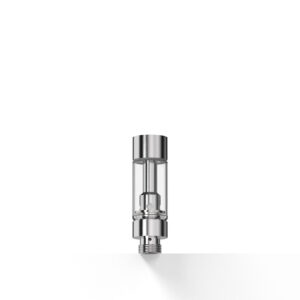
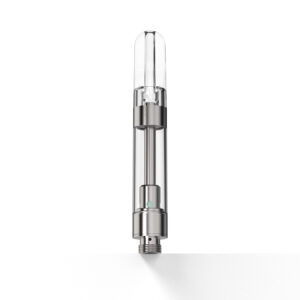
EVOMAX (Glass)
EVOMAX (ETP)
EVOMAX (Ceramic)
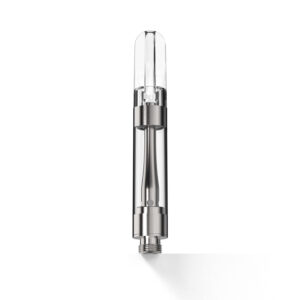
EVO (ETP)
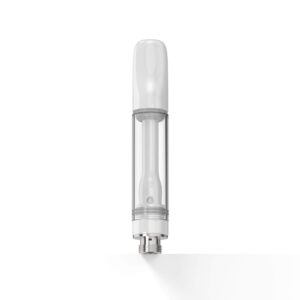
EVO (Glass)
THREDZ™
SE (Glass)
SE (ETP)
RA100 (Glass)
EVOMAX (Glass)
EVOMAX (ETP)
EVOMAX (Ceramic)
EVO (ETP)
EVO (Glass)
THREDZ™
SE (Glass)
SE (ETP)
Clear Filters
By Family
All-In-Ones
Cartridges
Dispensers
Pod Systems
Power Supplies
By Oil Type
All Oils
Distillates
Live Resin
Liquid Diamonds
Live Rosin
By Size
0.3mL
0.5mL
1.0mL
1.2mL
1.5mL
2.0mL
2.5mL
3.0mL
6.0mL
By Tech
Ceramic Core
EVO
EVOMAX
HeRo
SE
By Feature
Aroma Switch
Child Resistant
Dual Tank
Eco-friendly
Preheat
USB-C
Variable Voltage
By Collection
Award Winners
Heavy Hitters
Starters
Sustainable
Traveler
By Brand
CCELL®
Jupiter
By Price
$
$$
$$$